cloudHQ can automatically save emails (or just attachments from your emails) to your cloud storage.
This support note explains how to automatically save of emails to cloud storage with our Chrome extensions. If you do not have the Chrome browser (or do not plan to use our Chrome extensions), please check this note, which explains how to set up an autosave using our web interface only.
- Install the cloudHQ Chrome browser extension that matches your cloud storage service (e.g. Dropbox, Google Drive, etc.) from this location: https://www.cloudhq.net/chrome_extensions.
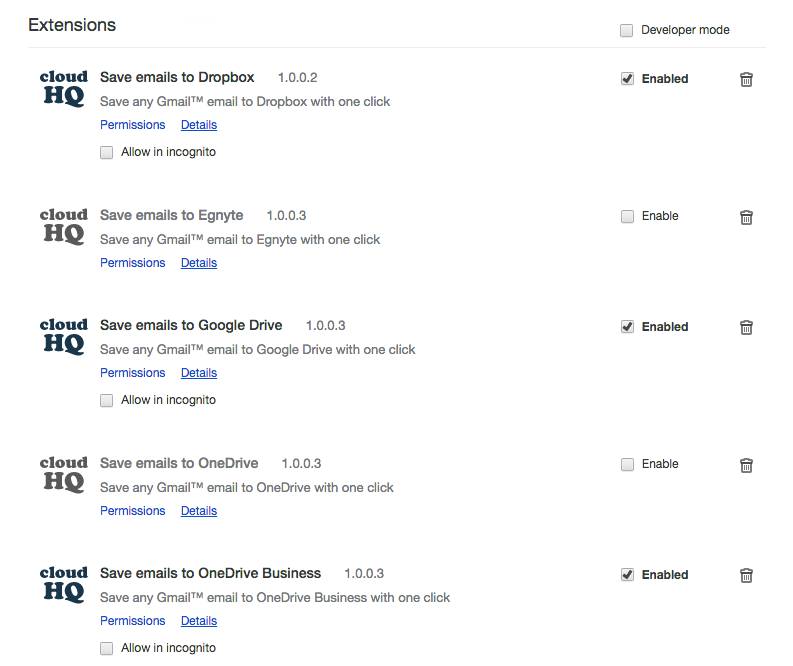
- Add the extension to Chrome so you have the “Save to <cloud storage>” button in your Gmail or Google Apps mail:
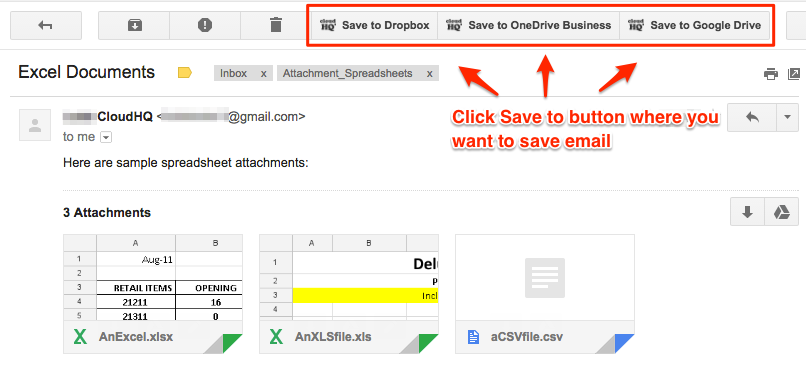
- Open your email message and click the “Save to <cloud storage>” button on your Gmail or Google Apps mail:
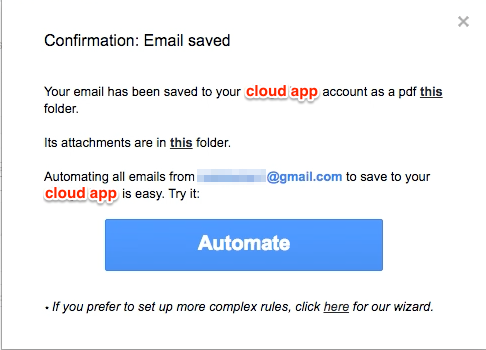
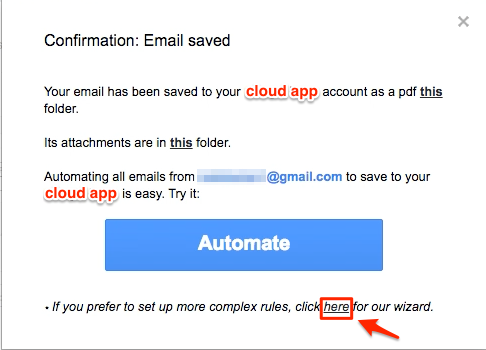
- Once the email has been saved to your cloud storage service, an “Automate” button will appear:
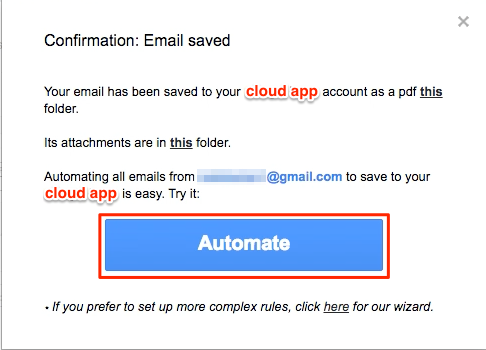
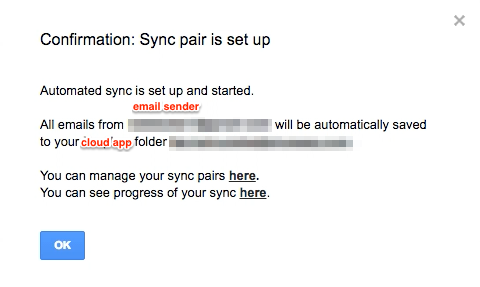
- Clicking this will create a sync pair that will automatically save emails from the sender to your cloud storage service:
- A message will appear that a sync pair is being created:

- A sync pair will be created to save emails from the sender to your cloud storage service in the previously selected folder:
- If you want to customize the sender, recipient, or email subject, click “here” beneath the “Automate” button to custom your email filters:
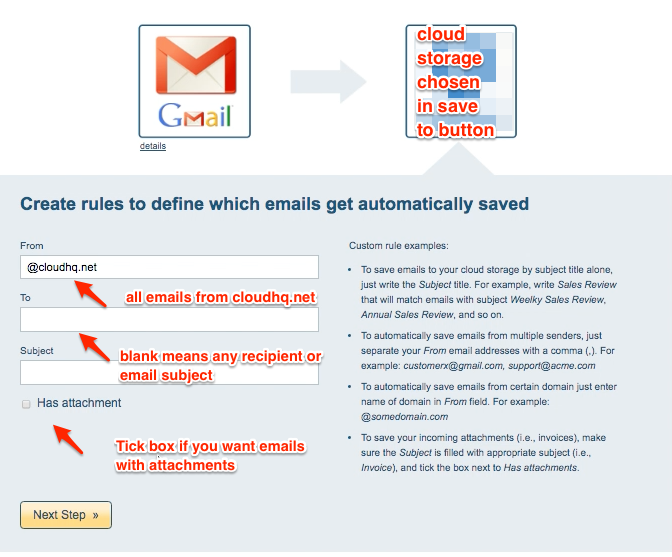
- You can specify rules for how your sync pair will be created:
- You can proceed through the steps until the sync pair is created:

- If you still want to modify Gmail rules after a sync pair has been created, click “Modify Options” to change the options:

- Synchronization will start. Here is How to Monitor Status of Sync.
- An email will confirm the success of the initial synchronization.