Here are short instructions for how to accept access to a shared folder/label:
Accepting a share from cloudHQ’s website:
Note: Member or invitee is assumed to be logged into their own cloudHQ account.
- Go to the Share tab.
- Click the dropdown of the shared folder with “Waiting for your response”:

- Click “Accept” from the shared folder:

- After accepting the share, please proceed to sync the shared folder with the cloud service of your choice.
Accepting share from email
Note: Member is assumed to be logged into their own email account:
- Go to your email account.
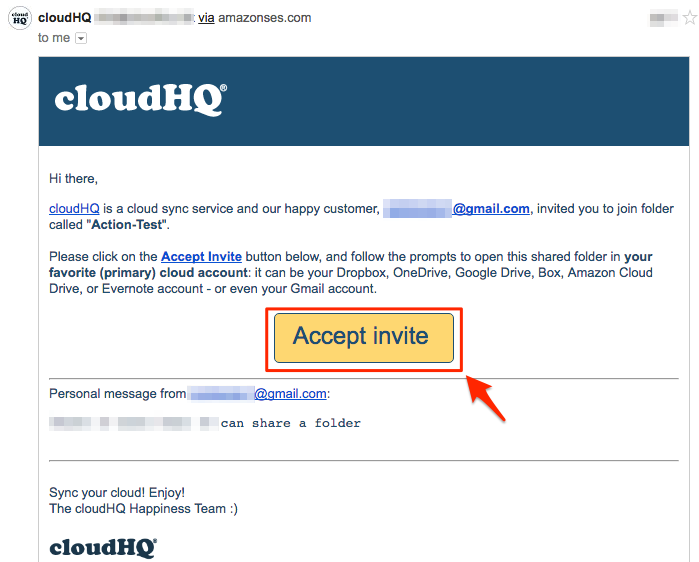
- Open your email account and click “Accept Invite” from your email invitation:
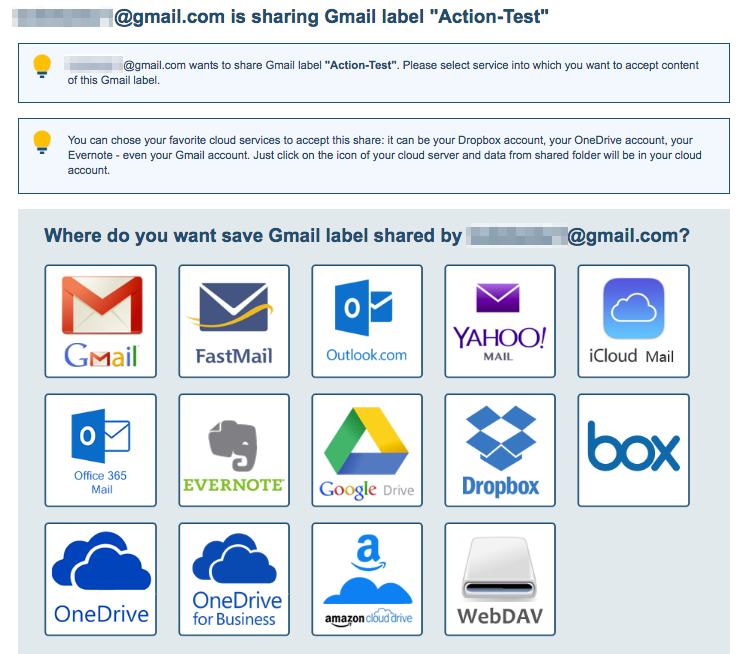
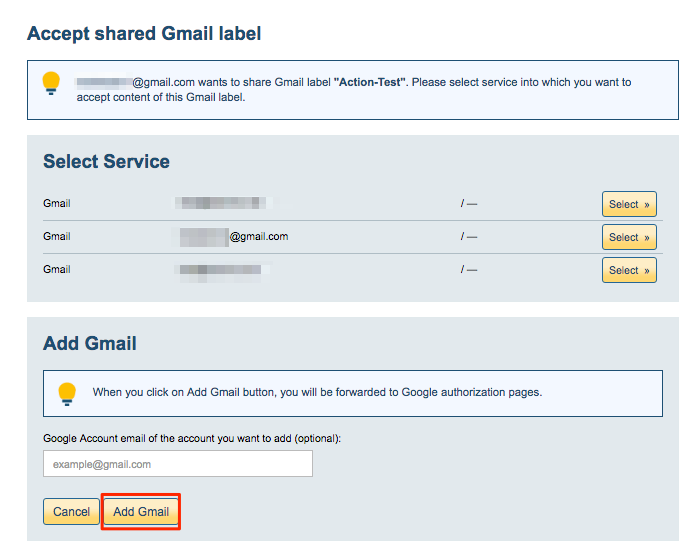
- After accepting the share, choose the cloud service where you want to sync your shared data:
- Click the icon of the cloud service you want to accept and access the shared folder/label:
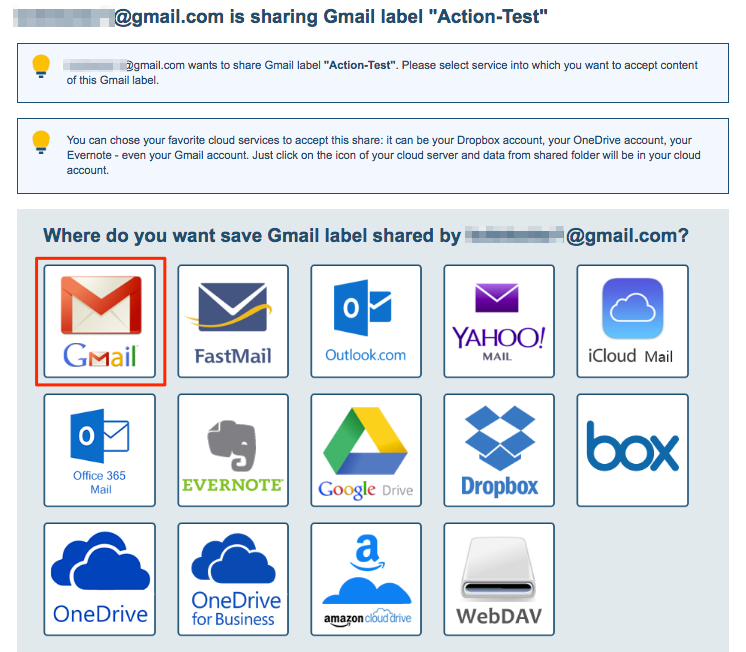
- Choose an account and authorize cloudHQ in that account:
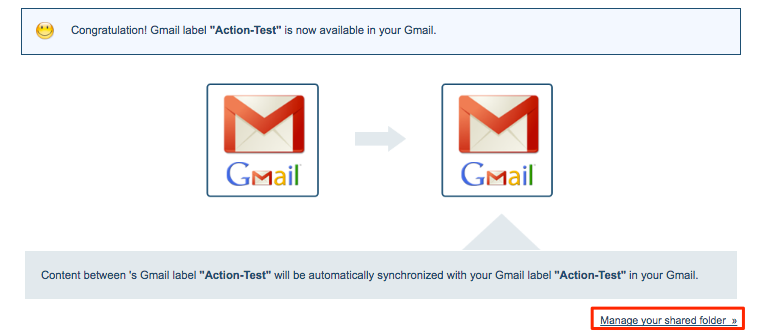
- Shared data will automatically be synchronized, and the owner will receive an automatic email:
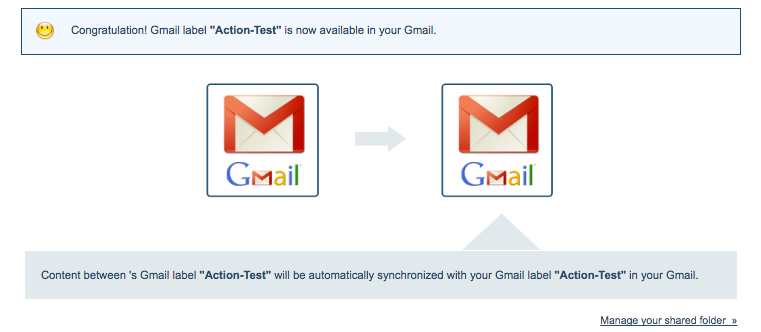
- The owner can also manage the shared folder by clicking the link in the lower right corner: